Metrological Traceability in Force and Torque Measurement Metrological Traceability in Force and Torque Measurement | HBM

How to Shorten the Time for Comparison Measurements

Even if you are barely aware of it, metrological traceability is important to our daily lives. For instance, automotive construction is unthinkable without correct mechanical dimensions. Traceability ensures that a measurement result can be referred to or is related to a standard. A traceable measured value is related to this recognized standard by a continuous chain of comparison measurements with known measurement uncertainty. However, for each of these continued comparison measurements, the result of the comparison becomes “lower order”. Carefully selected measuring equipment can reduce this effect. Due to this reason, comparison measurements – whether they are international comparison measurements such as “CIPM key comparisons” or “RMO key comparisons” or multilateral or bilateral comparison measurements by accredited laboratories – must be performed with the utmost care.

To prepare a comparison measurement, a pilot laboratory with several years of experience, which has usually also requested the comparison measurement, develops what is called the “technical protocol”, defining the specifications for the measuring systems to be used. Finally, a measurement uncertainty budget must be available at each participating laboratory, which in turn depends on the measuring equipment utilized. Such comparison measurements are naturally very time-consuming, taking between two months to one year, depending on the type. Therefore, it is worth trying to reduce the time required.

It has become evident that transducers based on strain gauges (SG) have the lowest measurement uncertainties for the measured variables force and torque. Hence, they are used as reference transducers and transfer standards for comparison measurements.

TOP Transfer Force Transducers

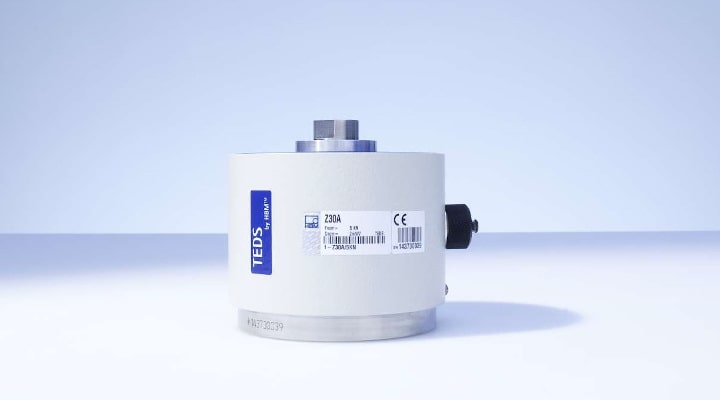
As a manufacturer of measurement technology solutions, HBM has, over several decades, acquired the necessary specialist know-how to be able to offer reference measuring chains. The reference force transducers of the TOP-Z30A series are highlighted as representatives of the TOP transfer force transducers, which have been specially designed for international comparison measurements. The TOP-Z30A offers extremely high precision for both tensile and compressive forces and exceeds the requirements of the highest accuracy class 00 of the international standard ISO 376:2011, in part by up to a factor of 10. At the same time, the sensors have particularly high repeatability. The TOP-Z30A is available with TEDS, a type of electronic data sheet integrated with the transducer, as standard. TEDS (Transducer Electronic Data Sheet) enables data to be read directly into the measuring amplifier. If the transducer is sent from laboratory to laboratory during an inter-laboratory comparison, the time required to configure the measuring chain in the respective laboratory is significantly reduced.

TN Torque Transfer Transducer

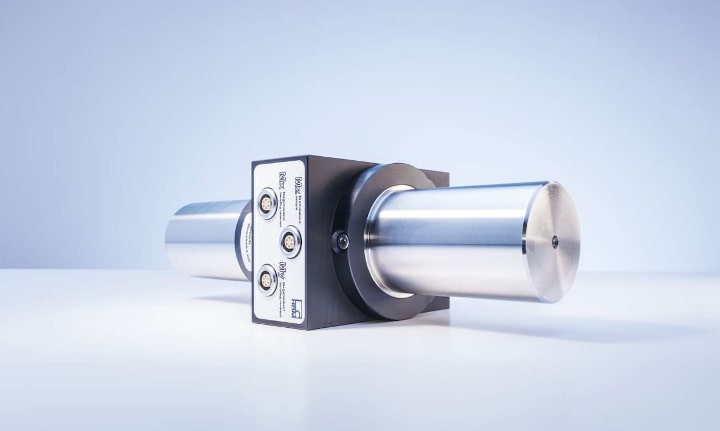
HBM’s TN reference torque transducers are also optimized for international comparison measurements. In this case, the special challenge is that a monolithic design in shaft shape is required for comparison measurements. However, shaft sensors can only be designed as “open” sensors and not hermetically sealed, as it is the case with the better part of the strain gauge-based sensors. This poses the challenge of making the sensor immune to fluctuations in relative humidity. This is necessary even though the laboratories are air-conditioned since the sensor must be transferred from laboratory to laboratory.

The version used for the TN reference torque transducer shows such a low dependence on humidity that “climate adjustment” can be performed in the shortest possible time. This implies that the total time required to pass through all the laboratories, including the transfer time, can be reduced, however, the results still fulfil a certain measurement condition.
Precision Amplifiers

Since the signal coming from the Wheatstone bridge of a strain gauge-based transducer is extremely small, a bridge amplifier is always required to be able to finally display or process the result. Reference transducer and precision measuring amplifier together make up a precision measuring chain. The requirements placed on these precision measuring amplifiers are even higher than the requirements on the associated reference transducers.

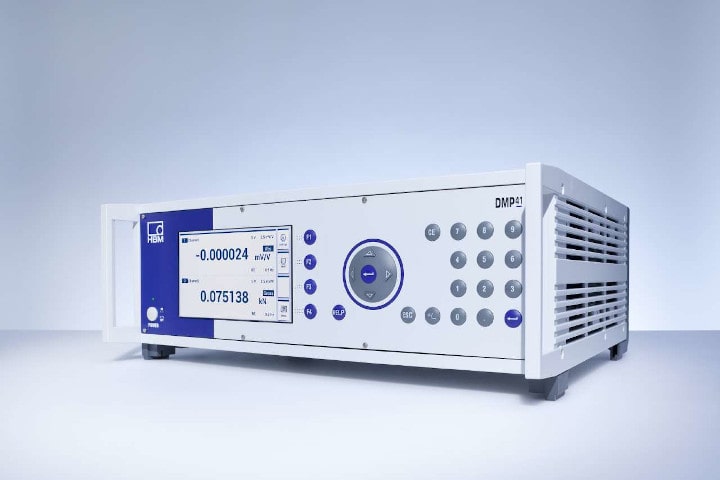
HBM’s DMP41 precision amplifier is the most accurate amplifier for strain gauge-based measurements worldwide, rendering it ideal for international comparison measurements. It is the result of the development of the DMP series, which has been going on for more than four decades now; it impresses with its outstanding long-term stability and user-friendliness, such as touchscreen operation. The impact of humidity to sensitivity, as explained above, is also relevant to precision amplifiers: With an ever-decreasing measurement uncertainty budget, the influence of humidity can no longer be neglected. This knowledge was incorporated into the development of the device, and, hence, the DMP41’s sensitivity to humidity could be reduced by about another power of 10, compared with its predecessor device, the DMP40.

HBM's Expertise in Precision Measurement

Until 1992/1993 HBM’s 20 kN·m torque dead weight machine shown in the teaser image of this page played the role of a “national standard” in Germany, so to speak