Trends in Force Measurement Technology
Technical advances in today’s test bench engineering are not only driven by the measuring amplifiers and software systems used in this field. The sensors, too, need to make their contribution to innovation by addressing major trends such as the need for shorter setup times, higher flexibility in testing and automation of tests.
Using the example of the measurement quantity of force we would like to show you how the latest generation of strain gauge based transducers meets varying requirements in the test shop and test bench.
The development of force transducers in recent years has produced more precise sensors which, at the same time, are robust, user-friendly, easy to configure and cost effective.
Overview of the 4 major trends


Extreme operating conditions

Maximum flexibility

Measurement of large forces
Innovation Trend #1: Increased Accuracy
Higher accuracy in the test bench pays off immediately - through an extended measuring range.
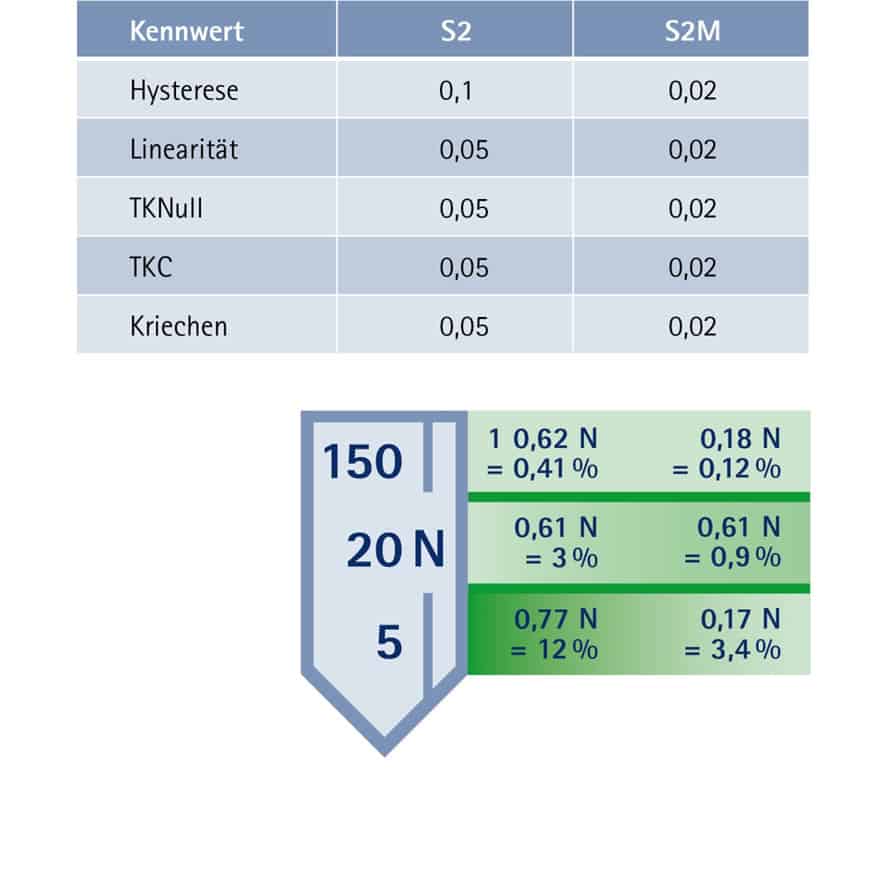
The accuracy of sensors is a matter of considerable economical interest. The reason for this is that the usable measuring range, i.e. the sensors’ operating range with a given required accuracy expands as the sensors’ accuracy improves.
This correlation is illustrated in the diagram: It is based on the S2M sensor, an industrial force transducer manufactured in large quantities. It is compared with its predecessor model, the S2. Designed to the state of the art, the S2M makes it possible to achieve a significantly wider measuring range while complying with the given measurement uncertainty. The calculation in our example is based on a force measurement in the partial load range of both sensors. The measuring time is 30 minutes. A temperature change of 20 Kelvin was assumed during the measurement. The sensor’s measuring range is 500 N. The following influence quantities were taken into account: Linearity, temperature coefficient of the zero point and sensitivity, hysteresis, and creep.
A sensor with a measuring range of 500 N can thus be used to precisely determine forces of approximately 20 N. There are two possibilities to benefit from this advantage:
- You can use a sensor offering higher capacity to enhance your measuring chain’s overload stability. The measuring chain becomes more robust. When using modern sensors, the uncertainty is very low.
- You use the sensors in a wider measuring range, thus reducing the variety of models.
Innovation Trend #2: Ready for Extreme Environments
Hermetically sealed force transducers are now available for most measurement quantities. Very small forces up to 500 N still present challenges.
The use of products in extreme environments is simulated more and more frequently. Here you benefit from both an ultra-rugged amplifier system and - of course - sensors that are designed to meet these challenges!
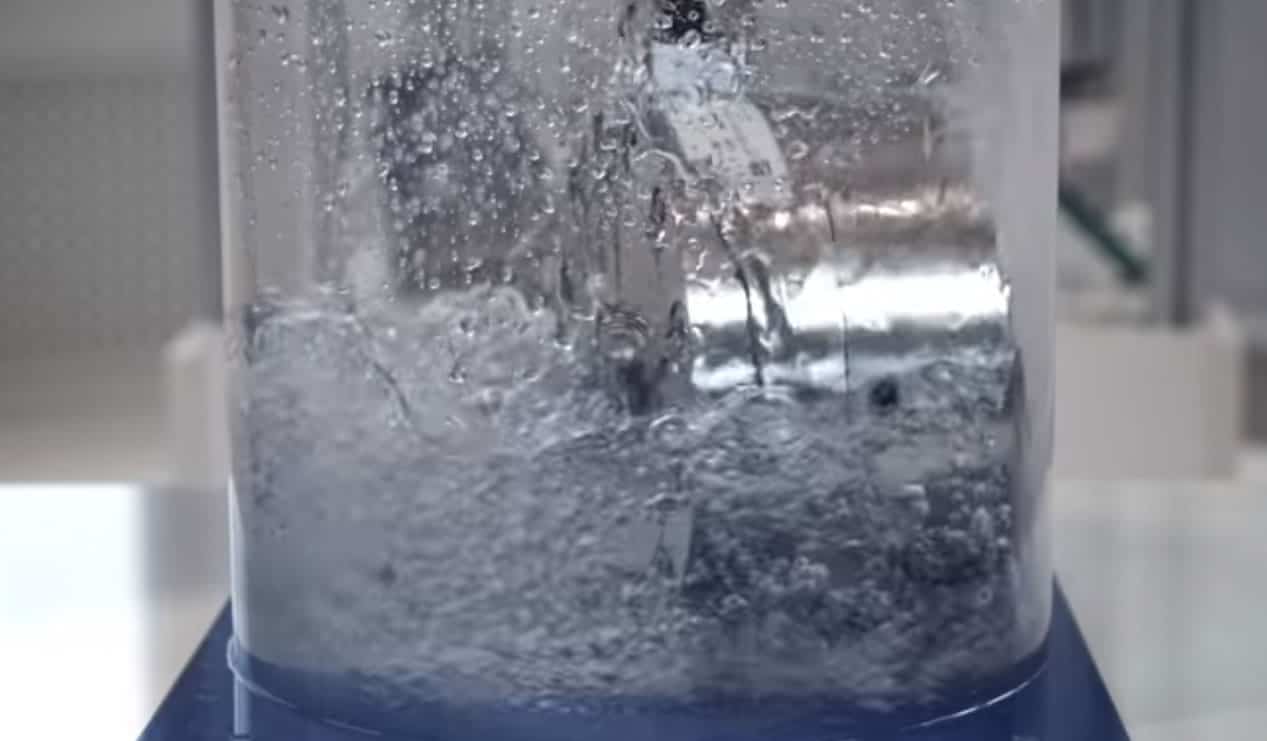
Hermetically sealed welded sensors are now available which meet high requirements in terms of robustness. The high degree of protection to IP68 (a standard feature of the series) is demonstrated by an immersion test in a three-meter column of water for 100 hours.
Modern stainless steels have proven effective in terms of both corrosion resistance and spring properties. Thus manufacturers such as HBM guarantee the availability of a combination of stainless steel, IP68, hermetically sealed sensor enclosure and 0.02* accuracy class.
*Accuracy classes as per HBM standards meet significantly higher requirements than general market standards.
What to do in case of small forces?
With very small forces up to 500 N it is difficult to use steel as a spring element material. The lower modulus of elasticity of aluminum is advantageous in this case. The strain gauges do have to be protected by silicone, however. Because of this, improvements in sensitivity to moisture must be achieved through the design of the strain gauges. For example, polyether ether ketone (PEEK) as a SG carrier material absorbs only a very small amount of moisture, which makes it a very favorable material. The degree to which force transducers incorporating this material are affected by moisture variation is sufficient for a great many applications even if the insensitivity of fully encapsulated sensors is not achieved.
More articles about force measurement technology
Innovation Trend #3: Flexibility
Modern force transducers are meanwhile delivered as specified by the customer and virtually ready for installation.
Standards for sensor flexibility are rising significantly. To further reduce setup times, test bench engineers expect a variety of accessories for force application, calibrations, cable lengths or permanently mounted plugs available from the factory.
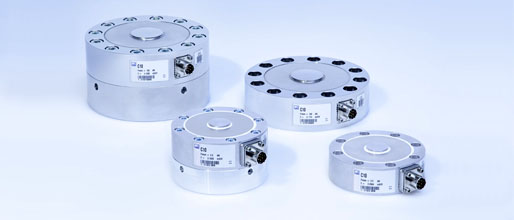
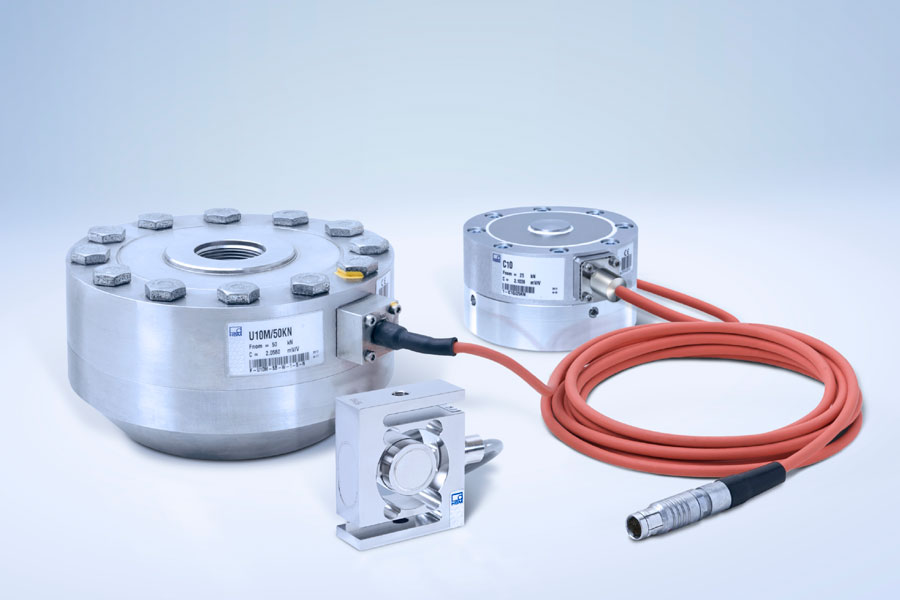
Modern force transducers meet this challenge through their modular design. Virtually every force transducer from HBM can now be individually configured - with many optional connectors and cables. A total of 2304 different possible combinations are available to configure a type C10 force transducer!
The demand for TEDS (Transducer Electronic Data Sheet) has also risen sharply in recent years. TEDS means: A sensor that is actually passive contains a small memory chip from which sensor data can be read. Given the appropriate amplifiers, this technology eliminates the need for parameterizing measurement channels and also decreases susceptibility to error.
Innovation Trend #4: Large Forces
Build-up systems: Get the big picture from the small details.
Given that technical devices tend to become larger, HBM now offers special solutions up to 20 MN, in addition to the standard products up to 5 MN. This applies to ships and also to wind power systems, for example. Greater forces occur when operating ships or wind power plants, and these forces must be verified through tests.
It is, of course, always necessary to calibrate the force sensors used in the field. The possibilities of calibrating large forces are limited.
In general, a source of force (e.g. a hydraulic cylinder) and a reference force transducer are used for calibrating large forces. The reference force transducer’s precision determines how accurate the calibration is.
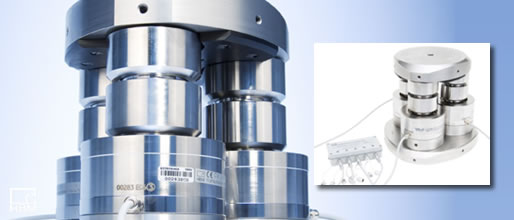
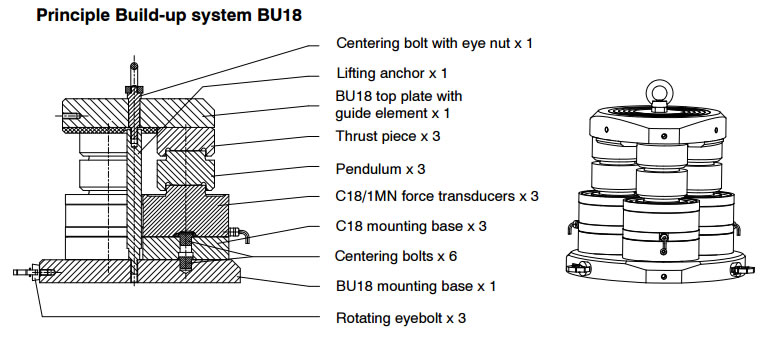
For this reason, HBM has developed so-called build-up systems in which three force transducers are mounted in parallel. Such systems are used in calibration and also in many research projects. The objective is to be able to derive the behavior of the complete system from the properties of individual small sensors.
For example, you could precisely measure three sensors with small capacities to develop a system with three times the capacity of a single sensor.
Due to the fact that this technology will ultimately make it possible to use force measurement technology in testing tasks with sufficiently precise calibration, research is sponsored by the EU. The capacity of the systems delivered so far is between 60 kN and 10 MN.

