Residual stresses can be present in any mechanical structure due to many causes, such as technological process:
- plastic deformation or welding
- non-uniform cooling of cast components
- forging process
or surface treatments like:
- shot peening
- surface hardening
Residual stresses have the same role in a structure’s strength as common mechanical stresses. However, while stress due to external loads can be calculated with a degree of accuracy, residual stresses are difficult to foresee. It is, therefore, very important to have a reliable method able to measure them directly with minimum damage to the surface.
Flyer Residual Stress Measurements
The Ring Core Method and the Hole Drilling Method
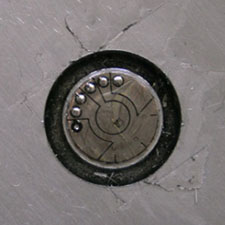
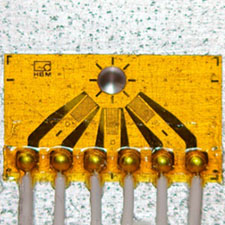
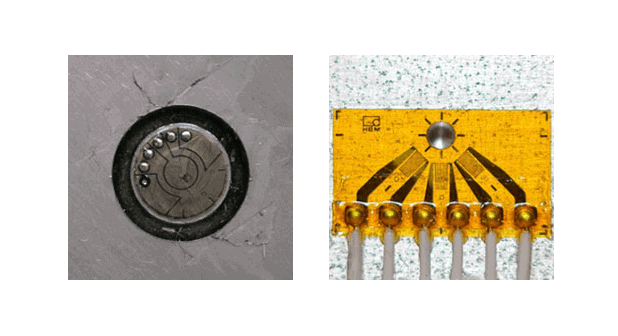
Two strain gauge-based technologies are often used for determining residual stresses: the ring core method and the hole drilling method.
The common feature of both methods is that after installation of the strain gauge rosette on the workpiece, the residual stress state is changed due to the mechanical process of drilling/coring. During this process, the residual stresses relax and release strains that are measured with strain gauges, and later are used for calculating the residual stress state.
With the ring core method, a ring-shaped groove is extracted around the respective strain gauge.

With the hole drilling method, a milling cutter rotating at about 350,000 rpm and advanced by a stepper motor is used for hole drilling. The strain changes arising due to the step-by-step drilling of the hole into the work piece are detected by a strain gauge rosette designed specifically for this method.

