Calibration
When a material testing machine is calibrated, reference points of the measurement device are compared to a reference sensor calibrated to a known traceable standard laboratory. Many material test machine manufacturers around the world calibrate their sensors and machines in production and in service with the HBK reference measurement chain.
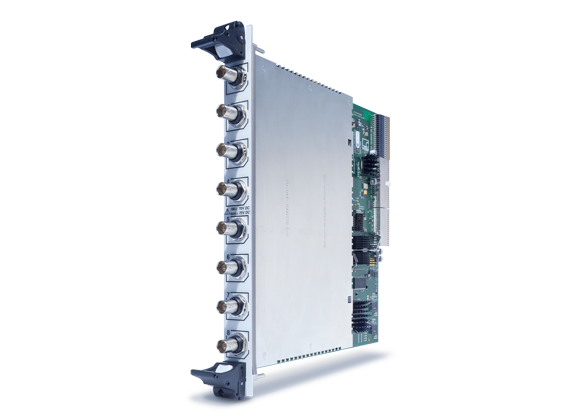
DMP41 and MGCplus have a strong place in laboratories worldwide including the PTB, NIST and other metrological institutes. The QuantumX MX238B is the perfect portable tool for calibration services at customer sites. All HBK devices can be traced back to DAkkS by our accredited lab in Darmstadt, Germany, guaranteeing that your calibration services are performed precisely and efficiently, with traceable results. Whether they are static or dynamic materials testing machines, HBK provides the perfect measurement solution.
Through mutual recognition of national accreditation bodies, we ensure worldwide validity of your calibration certificate and measurement results. The calibration procedures are determined by internationally recognized standards.
Calibrating the instrument itself can also be done. This ultimately certifies the overall accuracy and determines traceability of the measurements. Internationally recognized standards have been developed for calibration of crosshead speed and displacement (ASTM E2658 and E2309), strain and load rate (ASTM E2309), and measurement of tension, compression (ASTM E4), torque (ASTM E2624), and dynamic force (ASTM E467).
All in all, HBK offers the right tool set enabling a variety of calibration and maintenance services in a highly efficient and traceable way.
